


Sparrow WebGL Devlog 18: 3D Particles
In-engine particle system creation and a detailed options menu
20.03.2024 - 12:33Particle systems are fascinating. Watching thousands of little particles fly everywhere is fun, but they are also very useful. Many effects you might see in video games or animations are done with particles: Fire, smoke, dust, rain, snow, and spells effects, just to name a few. Therefore, I added 3D particle systems to my Sparrow WebGL engine this week.
3D Particles
I added 2D particles several months ago, which are very similar to 3D particles in many ways. Position, velocity, and acceleration just have an additional dimension, and other settings like size, age, color, and texture are identical.
The biggest difference going from 2D to 3D is that 3D particles always have to face the camera. This is also known as billboarding and I have talked about it in a recent devlog. For this reason and because I have implemented 3D particles in C++ and OpenGL before, adding them to my WebGL engine wasn’t a big problem.
However, you cannot use geometry shaders in WebGL, because unlike OpenGL they aren’t available. Instead, I’m using the same instanced rendering process as my 2D particles where the geometry of the particle quad is fixed and only the position and age are updated every frame. This limits the data that has to be sent to the GPU frequently to a single vec4 (3 floats for the position and 1 float for the age). Because the quad geometry is fixed, there is also one additional instanced buffer that stores per-particle size and color data so it’s possible to have particles with different sizes and colors from the same emitter.
Speaking of emitters, they can have one of three different types: a point where all particles spawn exactly at that position, or a box or a sphere where they spawn at a random position within the volume. The emitter controls the particles based on its settings, which can be passed in the constructor.
I also simplified the particle manager compared to the 2D particles or my C++/OpenGL implementation. In both of them, you have to create a particle manager or controller before adding emitters to it. While this has the benefit of having multiple controllers, I realized that it’s not necessary (at least not right now and I can always add a way to group emitters later on). Instead, there is only one particle manager that is automatically created in the engine and you can immediately add emitters to it. The engine also handles updating and rendering automatically, so the user doesn’t have to worry about it.
A lot of 3D particles at 60 fps on my laptop without a discrete GPU:
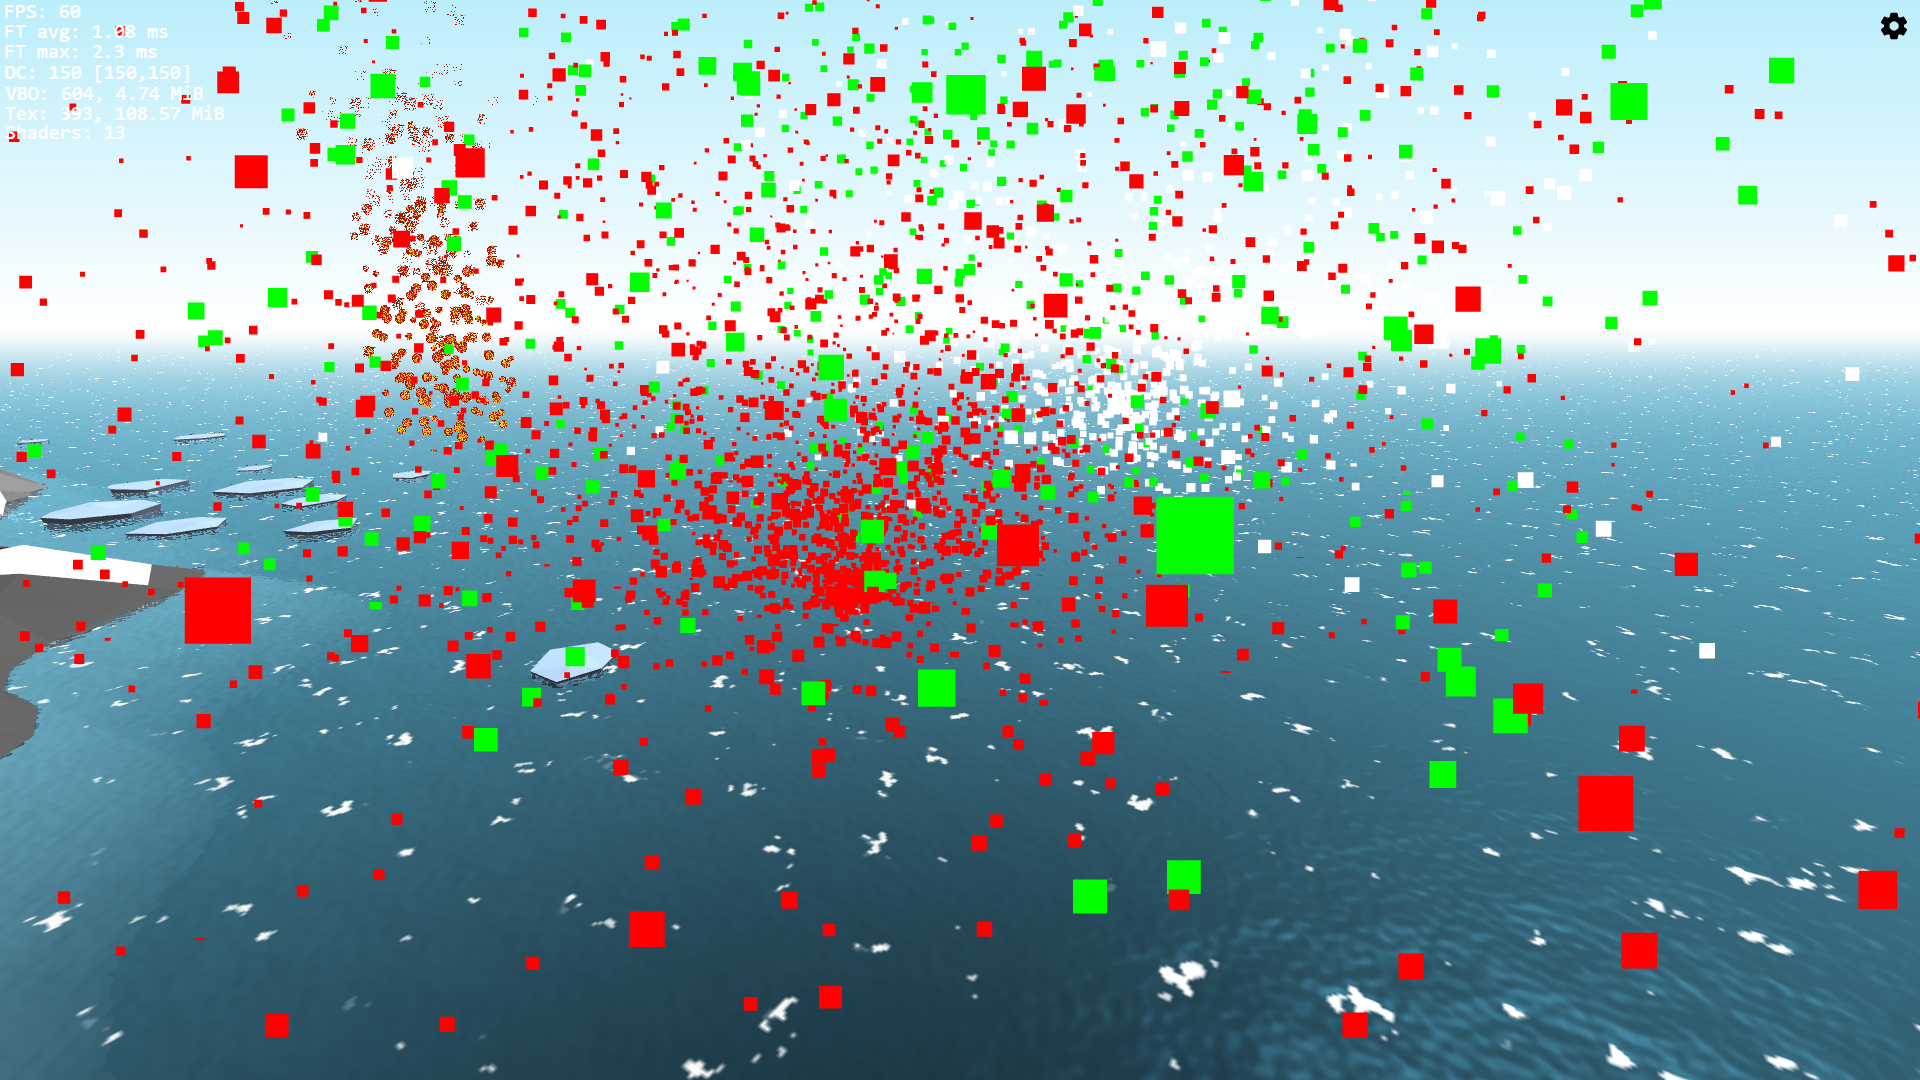
Finally, I want to talk about depth sorting. When rendering semi-transparent objects in 3D, you always have to render the triangles back to front because you have to know the color of the pixel behind the current pixel to blend their colors. This is especially problematic for particles with their random positions and movements. You can sort them based on their distance to the camera plane, but that is a very expensive operation when you have thousands of particles. Some heuristics work decently well like only sorting the emitters by their depth or rendering the particles based on their age, but I haven’t added any of them so far.
You can do surprisingly well without semi-transparent particles, especially in the non-realistic styles I tend to use. You can use textures with fully transparent pixels because the fragment shader discards the fragment if its alpha is below 0.5. For example, the quick and dirty fire texture in some of the images uses only fully transparent or fully opaque pixels, and all particles in Minecraft do too.
UI
The most time-consuming part of adding particles wasn’t adding the particles, but rather creating their options menu. After about a day, I had implemented the particles and you could create an emitter in JavaScript. However, this wasn’t the best way to tweak the particle options quickly. You had to change a parameter in the options struct and then refresh the page to see the results. Realistically, this would have been fine to create a few particle effects, but I decided to create an in-engine menu to control the particle options in real time instead. And on top of that, I also decided to redesign the UI elements and even create two new ones.
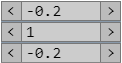
I started with a redesign of the spin boxes and went with a Blender-inspired design with < and > buttons to change the value. However, placing the buttons next to the text input looked bad because the borders would touch and appear twice as thick. I could have shifted the buttons slightly to place the borders on top of each other, but I added a completely new advancedBorderWidth feature instead with individually controllable top, bottom, left, and right border widths.
New spinbox design:
I also added new drop-down and toggle button UI elements. The toggle button was straightforward to implement because it’s basically a larger checkbox with text. The drop-down menu was a bit more complicated because I also had to add a popup menu that appears when the drop-down is clicked.
While working on the UI elements, I also streamlined their texture generation. Previously, every element had a custom texture creation function. However, there was quite a lot of overlap which became even more apparent with the new elements. Therefore I created a new class to encapsulate the basic texture generation and then the elements draw their custom shapes on top.
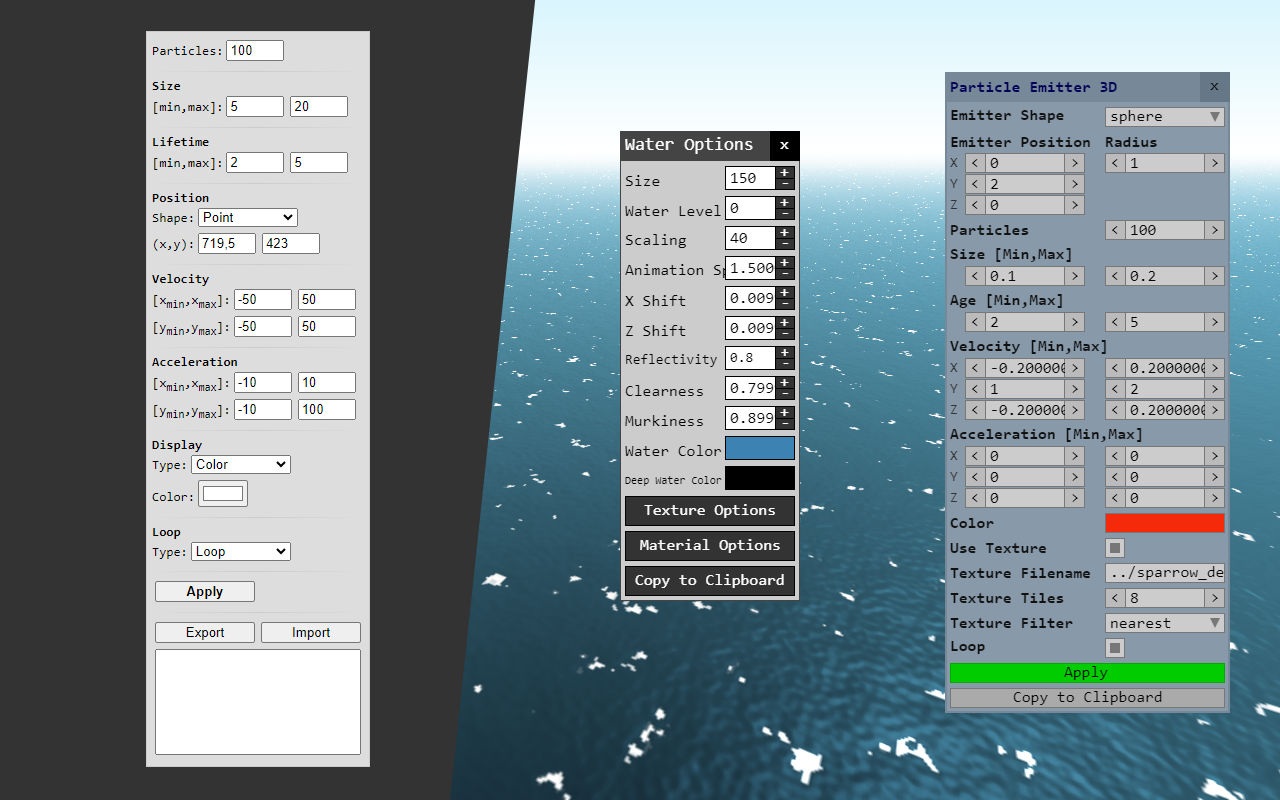
With all of the UI additions and changes and the countless tweaks to the design of the particle options menu itself, this took a few days to implement, but I’m quite happy with the result. The only problem is that I now have to redesign all other engine menus to match this style.
The HTML-overlay options for the 2D particles on the left, the old engine menu style in the middle, and the new in-engine options for the 3D particles on the right:
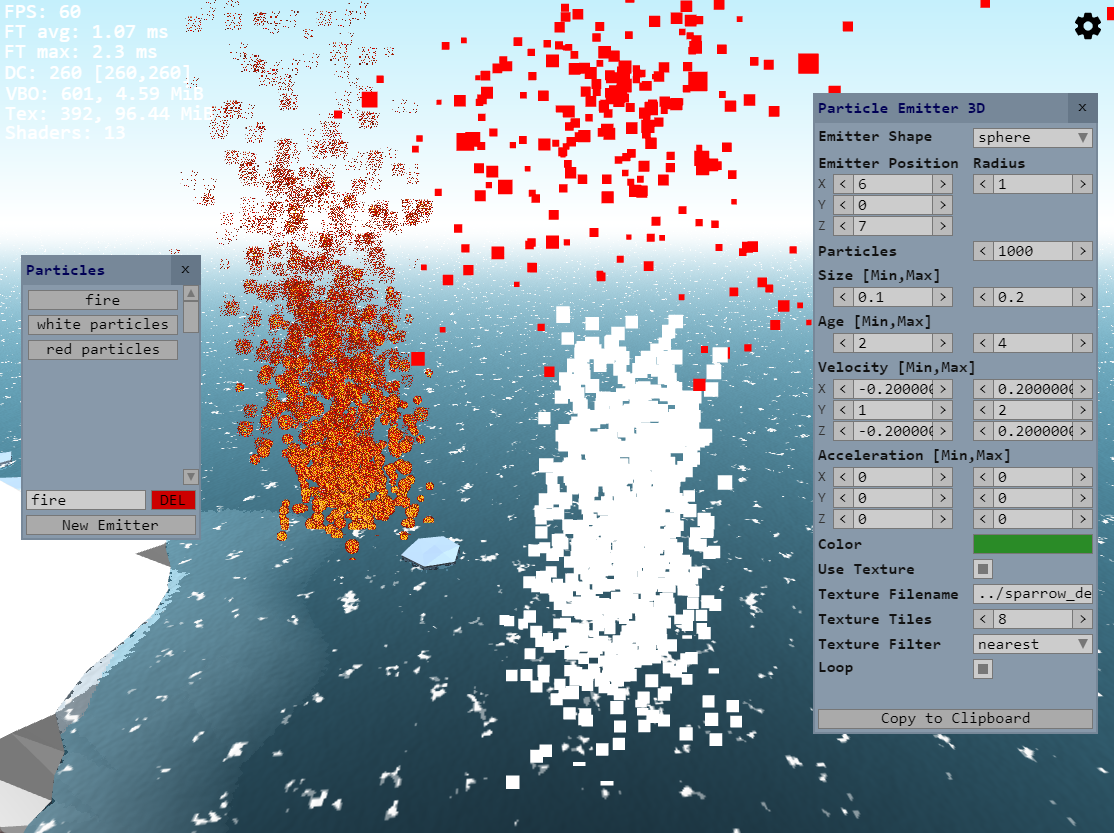
Besides the emitter options menu, I also worked on a menu that shows a list of all emitters. It’s possible to create new emitters, rename them, and delete them, which is the first engine feature where this is possible and a small hint at a future where almost anything can be created and controlled in this way. I should also mention that the engine state is not persistent at the moment, which means that you have to copy the options to the JavaScript source code after you have created an emitter (you have to remember to save in other programs too).
The list of particles on the right and the options menu on the left with some random emitters in the middle:
I’m very happy with how the 3D particle system turned out, especially with the in-engine creation and editing workflow. The options menu makes it easy to control the settings and see the changes immediately. As always, there are countless things I could improve and add, but the system should be good enough for the foreseeable future.
by Christian - 20.03.2024 - 12:33